Recently,I was happened to read a blog post by Chris Lema which explains the advantage of using description in WordPress menu. I got carried away with that idea and decided to implement it in my blog which runs on Genesis Framework.
And thats how the current WPStuffs menu with custom description came around.

In this post I explained how to display Menu Descriptions in any Genesis Child themes.
Code to display Descriptions in WordPress Menu
Add the following code in your current Genesis child theme’s function.php
function be_add_description( $item_output, $item ) {
 $description = $item->post_content;
 if (' ' !== $description )
 return preg_replace( '/(<a.*?>[^<]*?)</', '$1' . '<span class="menu-description">' . $description . '</span><', $item_output);
 else
 return $item_output;
}
add_filter( 'walker_nav_menu_start_el', 'be_add_description', 10, 2 );
As defined in the above code,You can style the element using .menu-description CSS class.Here is the code which I used here at WPStuffs.
Add the following code in your current Genesis child themes Style.css
.menu-description {
clear: both;
color: #999;
display: block;
font-family: Georgia, Times, 'Times New Roman', serif;
font-size: 12px;
font-style: italic;
}
Now the coding part is over..
Adding Descriptions to WordPress Menu
The WordPress menu description feature is hidden by default,So inorder to enable that follow the steps below.
Go to Dashboard >> Appearance >> Menus and Click on Screen Option which is located in top right corner
Check the option “Description” which will be located under advanced menu properties

Enable Description in WordPress Menu
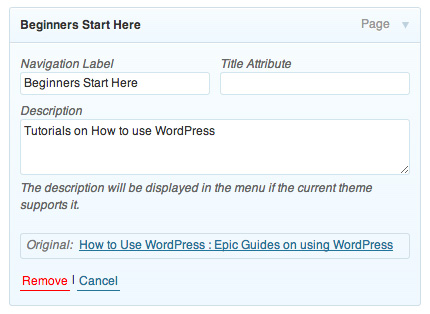
Now if you expand any menu item,You can see Description field.Add description in it.
Save the menu and check out the site.If you are not satisfied with the look then modify Css code given above to make it blend with your current theme style.
[mybox]Also checkout my previous article : How to style WordPress Navigation links using custom CSS Classes[/mybox]