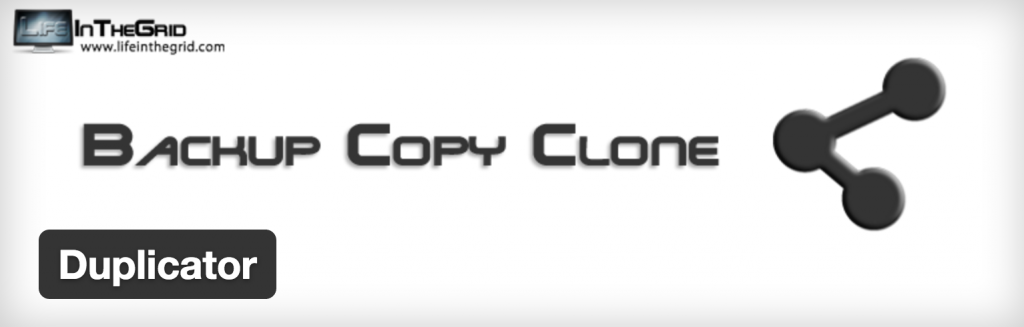
When creating a new WordPress site, many developers prefer to start the project by working on it locally. A local WordPress environment is pretty easy to set up with the use of MAMP, and it’s often easier to make changes on a new project by editing the files directly on your machine, rather than on a server. Eventually, though, there comes a time when you want or need to transfer the site to a live server. There are a bunch of different ways to go about doing this, but I’ve found that the easiest way is by using the WordPress Duplicator plugin, which is free and super easy to use.
Here’s how it works:
First, download the Duplicator plugin and activate it. That’s the really easy part. Next, you’re going to go to the Duplicator dashboard and click “Create New” to create a new package. A package is basically the entire contents of your site in .zip format, plus an installer file that helps to initiate the process of actually installing your site on a server. Give your package a name (and a note, if you feel so inclined), and click “Next”. Duplicator will run a scan of your site to make sure there aren’t any glaring issues that could be a detriment to the install process. Once you’ve cleared that step, click “Build”, and your package will be created. Once the package is ready, download and save both the archive and the installer files to your machine.
Next, you’re going to have to connect to your server via an FTP client. Once you’re connected, copy the archive and installer files to the root directory of your site (this doesn’t have to be done via an FTP or SFTP connection, but it is probably the easiest way). It could take a little while to move the files to your server, particularly if the .zip file is large.
Now it’s time to install the site. Access the installer file by adding /installer.php to the end of your domain (example: sitename.com/installer.php). Once you access the installer, you’ll be prompted to add some details about the MySQL database. Create a new database by entering a name, user, and password if you’re uploading a brand new site. If you’re updating an existing site, you’ll have to add the credentials of an existing database, otherwise you risk losing a lot of the site’s content. Some servers don’t allow for the new database to be created dynamically that way, so you may have to go into your cPanel to create a new database manually. Make sure you create a database name, a user, add that user to the database, and give that user access to all privileges, then add all that information to the installer page. Test the connection, then run the deployment.
There will be a few last steps on the installer page to check that everything’s working properly and all your settings are correct, and then you’re ready to go. Check out your site and your root directory now — your WordPress site should be up and running on your server, and the root directory should contain all your WordPress files.