We’ve talked before about how much easier it is to develop your WordPress sites locally before uploading them to a server. Doing this can usually save you lots of time and frustrations…except for the fact that because WordPress is built on PHP, it won’t run locally on a browser on its own. Lucky for us, there’s MAMP (or WAMP, if you’re a Windows user). MAMP is an amazing tool that gives you access to a local PHP server — for free! If you’re a WordPress developer that likes to work on sites locally, it’s a huge lifesaver.
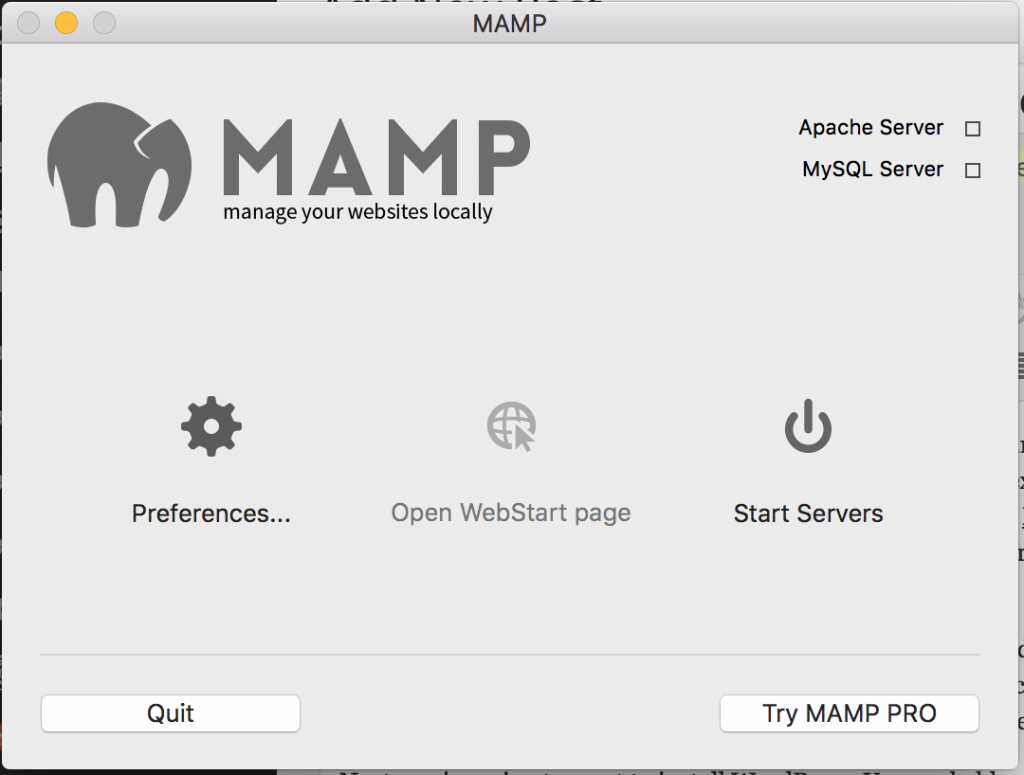
Once you’ve installed MAMP, it’s pretty easy to get a local WordPress site up and running. First, make sure all your MAMP settings are configured correctly: from the MAMP dashboard, click on Preferences and then Ports, and make sure that your ports are configured to 8888, so that your server can be accessed on your browser from localhost:8888.
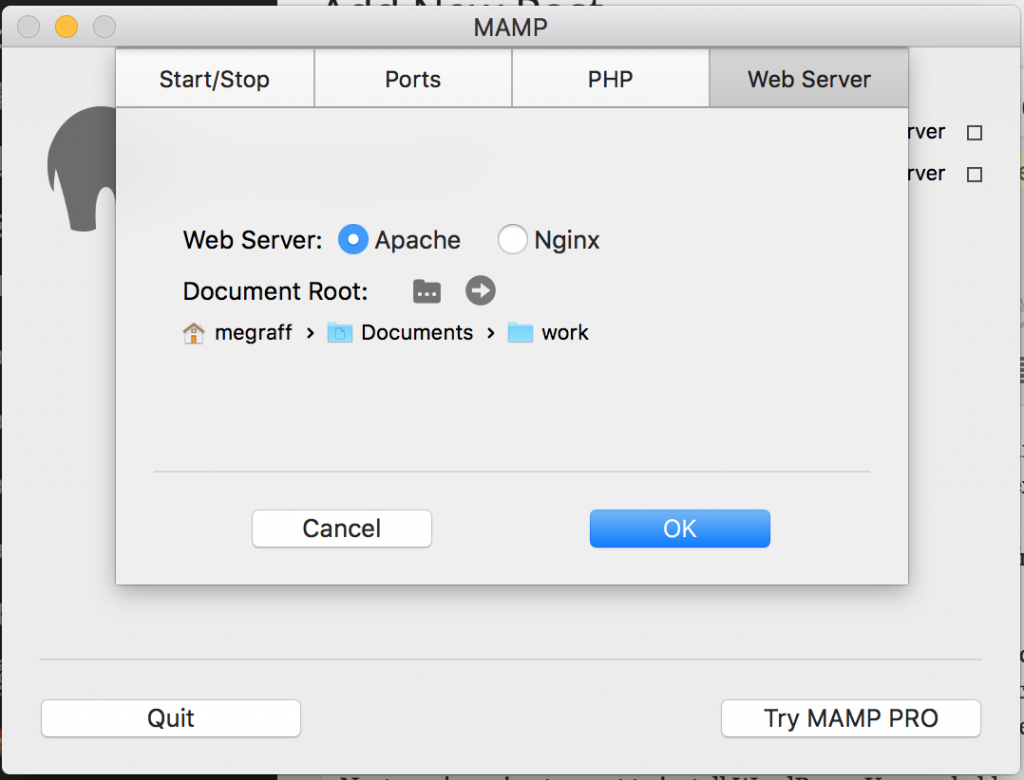
Next, you’re going to want to install WordPress. You probably already know that WordPress has a super quick and easy download. You can find that here. Once the files are installed on your machine, you’re going to want to make the new file containing your brand new WordPress site the document root in your MAMP configuration. To do this, go to the Web Server tab on the MAMP dashboard and click the folder icon next to the words ‘Document Root’ (see image below). Make sure you set the document root to the directory that contains your WordPress site and all of its goodies — NOT any folder that the directory might be in, or any folder within that directory, otherwise it won’t work. Now click ‘Start Servers’ on your MAMP dashboard. This should launch a new browser window, but if it doesn’t, just go to localhost:8888/MAMP.
All that’s left to do now is set up the database. From the localhost:8888/MAMP page, click the phpMyAdmin link. There should be an option to ‘Create New Database’. Choose any name you like and click ‘Create’.
Finally, it’s time to run WordPress. Visit the home page of your local site (localhost:8888 or localhost:port if you’ve configured the port otherwise) and enter the following info into the database setup fields:
Database Name: yournewdatabasename
User Name (database): root
Password (database): root
Database Host/server: localhost
Table Prefix: wp_
Just make sure you enter the actual name of your newly-created database in the “Database Name” Section. That’s it! Now you should be ready to get creating.
(Click here for info on how to upload this local site to a remote server!)

![How to install WordPress on your Computer ? [Local server setup]](https://www.wpstuffs.com/wp-content/uploads/2012/12/wp-box-150x150.jpg)